

In today’s digital age, information security and user data protection have become paramount for any website owner. With the increasing cyber threats and data breach attempts, securing your website is no longer an optional extra but an essential necessity to ensure business continuity and build strong trust with your customers. This is where the importance of SSL certificate installation emerges as a crucial first step in securing your digital presence.
The process of SSL certificate installation is not limited to data protection; it also extends to improving your website’s search engine ranking, increasing conversion rates, and enhancing credibility. In this comprehensive guide, we will delve into everything you need to know about SSL certificates, starting from their technical concept, moving through their numerous benefits, and finally, detailing the practical steps for their installation on your website.
What is an SSL Certificate?
An SSL (Secure Sockets Layer) certificate is a standard security technology that establishes an encrypted link between a web server and a web browser. This encrypted link ensures that all data transmitted between the server and the browser remains private and secure, preventing any unauthorized third party from intercepting or reading it.
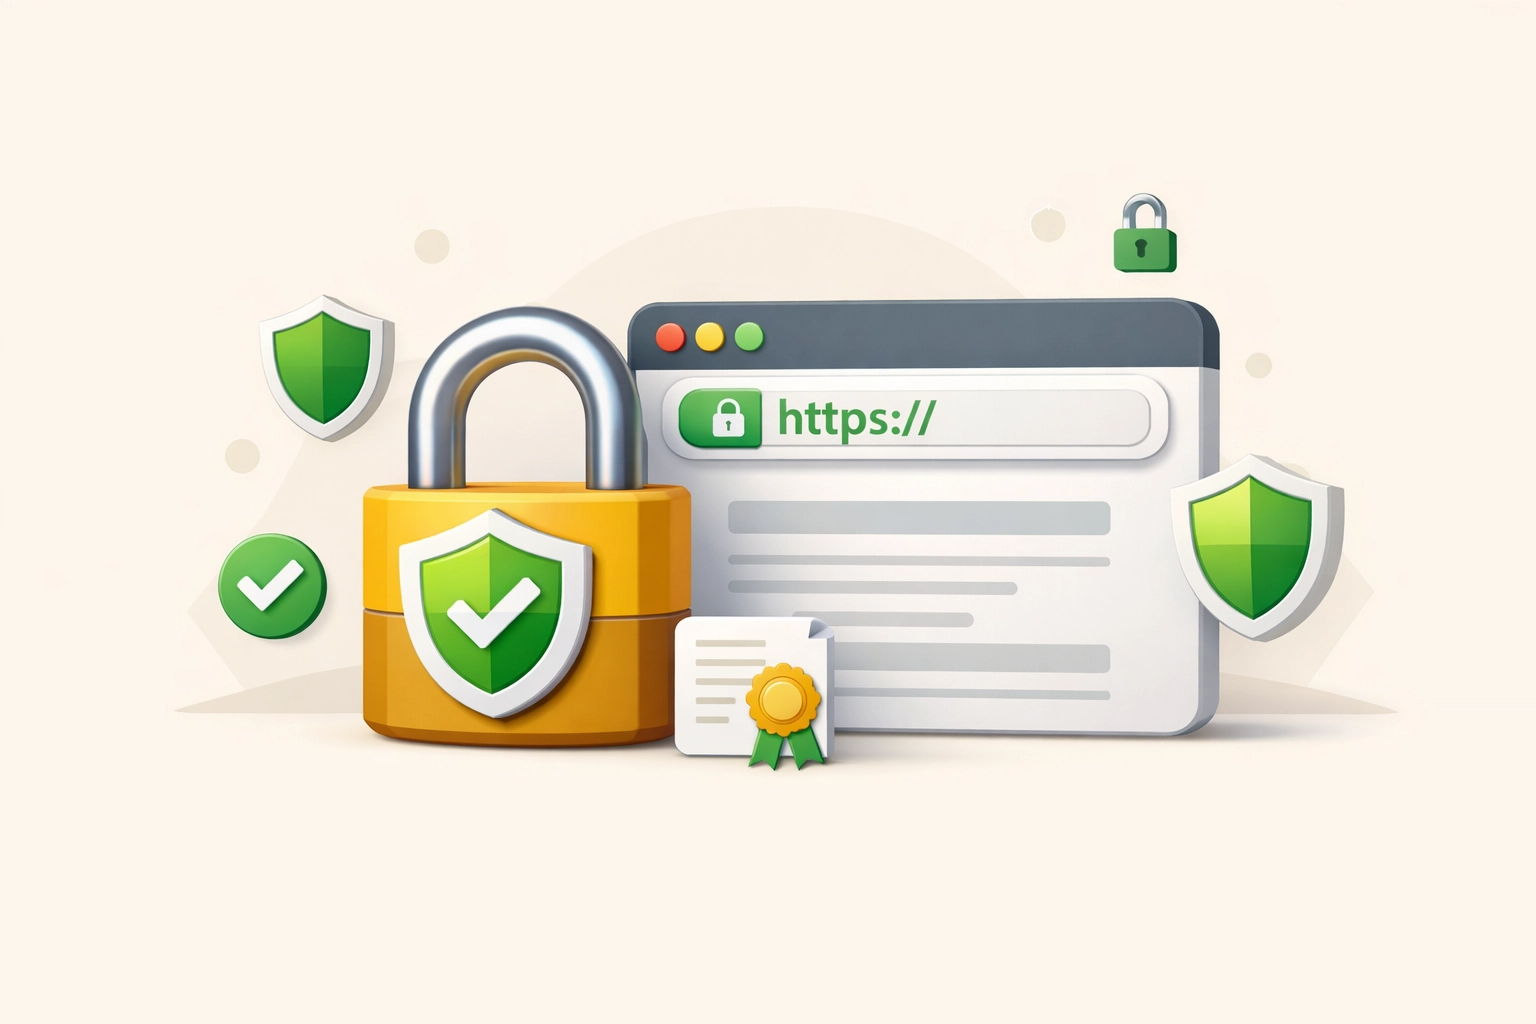
Technically, these certificates rely on what is known as the Transport Layer Security protocol, which is the foundation upon which modern internet encryption technologies are built. When you perform an SSL certificate installation on your website, you are effectively enabling HTTPS (Hypertext Transfer Protocol Secure), which appears as a padlock icon next to your website’s address in the browser bar, clearly signaling to visitors that their connection is secure.
An SSL certificate works by using two cryptographic keys: a public key and a private key. The public key is used to encrypt data before it is sent, while the private key is used to decrypt it upon reception. This complex mechanism ensures the confidentiality and integrity of exchanged information.
Why Should You Install an SSL Certificate for Your Website?
Making the decision for SSL certificate installation brings with it numerous fundamental benefits that directly impact the success of your website. Here are the main reasons why this step is indispensable:
1. Robust Data Protection and Strong Encryption
The primary goal of SSL certificate installation is to protect the information exchanged between a visitor and the website. Whether this information consists of passwords, credit card details, or personal data, encryption ensures that hackers cannot intercept it. Without this certificate, data is transmitted as plain text, making it vulnerable to easy theft.
2. Building Trust and Enhancing Credibility
When a user visits a website and notices the padlock icon and the word “Secure” in the address bar, they feel reassured and confident in interacting with that site. Conversely, modern browsers like Google Chrome flag websites that do not use HTTPS as “Not Secure,” which can lead to visitor aversion and the loss of potential customers.
3. Improving Search Engine Ranking (SEO)
Google has officially announced that using the HTTPS protocol is a ranking factor in its search algorithms. This means that websites that have undergone SSL certificate installation gain a preference in appearing higher in search engine results compared to insecure websites. Consequently, this step directly contributes to increasing organic traffic to your site.
4. Compliance with Global Security Standards
If your website is an e-commerce store that accepts online payments, SSL certificate installation is a fundamental requirement for compliance with Payment Card Industry Data Security Standard (PCI DSS). Without this certificate, you will not be able to provide secure payment gateways for your customers, hindering your ability to conduct e-commerce.
Available SSL Certificate Types
Before embarking on the SSL certificate installation process, it’s important to understand the different types available to choose what best suits your website’s needs. These certificates vary based on the level of validation and the number of domains they cover:
| Certificate Type | Validation Level | Optimal Use Case |
|---|---|---|
| Domain Validated (DV) | Low (verifies domain ownership only) | Personal blogs, simple informational websites |
| Organization Validated (OV) | Medium (verifies legal existence of the organization) | Corporate websites, educational institutions |
| Extended Validation (EV) | Very High (thorough and stringent verification) | Banks, major e-commerce stores, financial institutions |
| Multi-Domain Certificate | Varies by type | Companies owning multiple websites with different domain names |
| Wildcard Certificate | Varies by type | Websites with a large number of subdomains |
To find the best options for your business, you can explore the SSL security certificate packages offered by Souq T2, which provide advanced protection at competitive prices.
Pre-installation Requirements for SSL Certificate Installation
Before proceeding with the SSL certificate installation process, there are some essential requirements you should ensure are met to guarantee a smooth operation:
- Unique IP Address: In some cases, you might need a dedicated IP address for your website. However, most modern hosting solutions support SNI (Server Name Indication) technology, which allows hosting multiple SSL certificates on a single IP address, thus eliminating the need for a unique IP in most instances.
- Updated WHOIS Information: Ensure that your domain’s contact information (WHOIS) is up-to-date and accurate, as it may be used to verify domain ownership during the certificate issuance process.
- Generate a Certificate Signing Request (CSR): This is the most crucial part before purchasing the certificate. A CSR is an encrypted text file containing information about your domain and organization (domain name, company name, city, country, etc.), along with your public key. This request is generated on the server that will host the certificate and must be submitted to the Certificate Authority (CA) when purchasing the certificate.
Step-by-Step SSL Certificate Installation Guide
After understanding the basics and preparing the requirements, we now move to the practical steps for SSL certificate installation on your website. The exact details might vary slightly depending on your hosting provider and server type, but the fundamental principles remain the same:
Step 1: Purchase an SSL Certificate
The first step is to choose and purchase the appropriate SSL certificate for your needs. As mentioned earlier, various types of certificates are available. You can visit the SSL Certificates page on Souq T2 to browse the available options and select the certificate that meets your security requirements and budget.
Step 2: Generate a Certificate Signing Request (CSR)
After purchasing the certificate, you will need to generate a CSR file from your hosting server. This is typically done through your hosting control panel (such as cPanel, Plesk, or your virtual server’s control panel). You will enter information like your domain name, company name, and city. The system will generate a CSR file and a private key. It is absolutely crucial to keep your private key in a secure location and never share it with anyone.
Step 3: Activate the Certificate and Verify Ownership
You will submit the CSR file you generated to the Certificate Authority (CA) through the certificate’s control panel (usually accessible via your service provider account). The CA will then need to verify that you are the legitimate owner of the domain. This verification can be done in several ways:
- Email Verification: An email is sent to an administrative email address associated with the domain (e.g., admin@yourdomain.com).
- DNS Verification: Requires you to add a specific DNS record to your domain settings.
- HTTP File Verification: Requires you to upload a specific file to your website’s root directory.
Once verification is complete, the CA will issue your SSL certificate files, which typically include a primary certificate file and a certificate chain/bundle file.
Step 4: Install Certificate Files on the Server
This is the final step in the SSL certificate installation process. You will upload the certificate files you received from the CA to your hosting server. This is usually done through the same control panel you used to generate the CSR. You will need to paste the content of the primary certificate file and the certificate chain file into the designated fields, then link them to the private key you generated in Step 2.
After installation, it is important to restart your web server (such as Apache or Nginx) to activate the new certificate. You can then verify the successful installation using free online SSL checker tools, which will confirm if your certificate is working correctly.
How to Install an SSL Certificate on Different Platforms
The method of SSL certificate installation varies slightly depending on the hosting environment and Content Management System (CMS). Here’s an overview of some common scenarios:
On cPanel
cPanel is one of the most popular control panels and makes SSL installation relatively easy:
- Log in to your cPanel dashboard.
- Find the “Security” section and click on “SSL/TLS.”
- Choose “Generate/View/Delete SSL Certificate Signing Requests (CSR)” to create a CSR.
- After obtaining the certificate files from the issuer, return to the “SSL/TLS” section.
- Select “Install/Manage SSL Certificates for your site (HTTPS).”
- Paste the content of the Certificate (CRT) file, Private Key (KEY), and Certificate Authority Bundle (CABUNDLE) into the respective fields.
- Click the “Install Certificate” button.
On WordPress
If your website runs on WordPress, the SSL certificate installation process involves two phases:
- Install the Certificate on the Server: Follow the steps mentioned above based on your hosting control panel (cPanel, Plesk, etc.).
- Configure WordPress to Use HTTPS: After installing the certificate on the server, you will need to update WordPress settings to enforce HTTPS. This can be done manually by editing the wp-config.php file or the .htaccess file, or more easily by using WordPress plugins like “Really Simple SSL,” which automatically converts all your website links to HTTPS and fixes mixed content errors.
On Windows Servers (IIS)
For Windows servers using IIS (Internet Information Services), the steps typically include:
- Opening “Internet Information Services (IIS) Manager.”
- Selecting your server.
- Double-clicking on “Server Certificates.”
- Creating a Certificate Request to generate a CSR.
- After obtaining the certificate, clicking on “Complete Certificate Request” and importing the certificate file.
- Binding the certificate to the specific website in “Site Bindings.”
Common Issues After SSL Certificate Installation and How to Solve Them
After SSL certificate installation, you might encounter some common issues. Here are the most prominent ones and how to deal with them:
1. “Mixed Content” Error
This error occurs when some of your website’s resources (such as images, CSS files, or JavaScript) are loaded over the insecure HTTP protocol instead of HTTPS, even after SSL activation. This leads to a “Not Secure” warning in the browser. To resolve this, you must ensure that all your website’s resources are loaded over HTTPS. This can be done manually by updating links in your website’s code, or by using plugins (in WordPress) or mixed content checker tools.
2. Certificate Expiration
SSL certificates have an expiration date (usually one or two years). If your certificate expires, the browser will display a warning to visitors that the site is not secure. To avoid this, you must renew your certificate well before its expiration date. Most service providers, including Souq T2, offer renewal reminders.
3. Missing Green Padlock Icon
If you have performed an SSL certificate installation but the green padlock icon does not appear in the address bar, it might be due to the mixed content error mentioned above, or there might be an issue with the certificate chain installation. Ensure that all certificate files are correctly installed and that the server has been restarted.
Tips for Maintaining Your Website’s Security After Installation
The SSL certificate installation process is just a first step towards securing your website. To maintain this level of security, follow these tips:
- Enable Automatic Redirection to HTTPS: Ensure that all HTTP requests are automatically redirected to HTTPS. This can be done by setting up redirection rules in your .htaccess file or server settings.
- Monitor Expiration Date: Set reminders to renew your certificate before it expires to avoid any service interruptions or security warnings.
- Use SSL Checker Tools: Regularly use free online SSL checker tools to verify the validity and configuration of your certificate and to detect any potential security vulnerabilities.
- Regularly Update Your Website Systems: Keep your Content Management System (CMS), plugins, and themes updated to patch any security vulnerabilities that may arise.
Conclusion
In conclusion, the importance of SSL certificate installation for your website cannot be overstated in today’s digital landscape. It is not just a tool for data encryption; it is an investment in your website’s security, building customer trust, and improving your site’s performance in search engines. By following the steps outlined in this guide, you can ensure your website transitions to a secure HTTPS environment, providing you and your visitors with a safe and reliable browsing experience.
Don’t let your website’s security be an afterthought. Start securing your digital presence today. You can begin by choosing the right SSL certificate for your website from Souq T2 and benefit from their integrated solutions to secure and protect your online business.